


How to Replace the Barrel in a Single Screw Extruder
As a supplier of Single Screw Extruder, I understand the importance of proper maintenance and component replacement in ensuring the optimal performance of your equipment. One crucial aspect of single screw extruder maintenance is the replacement of the barrel. In this blog post, I will guide you through the process of replacing the barrel in a single screw extruder, providing you with detailed steps and essential tips to make the process as smooth as possible.
Understanding the Role of the Barrel in a Single Screw Extruder
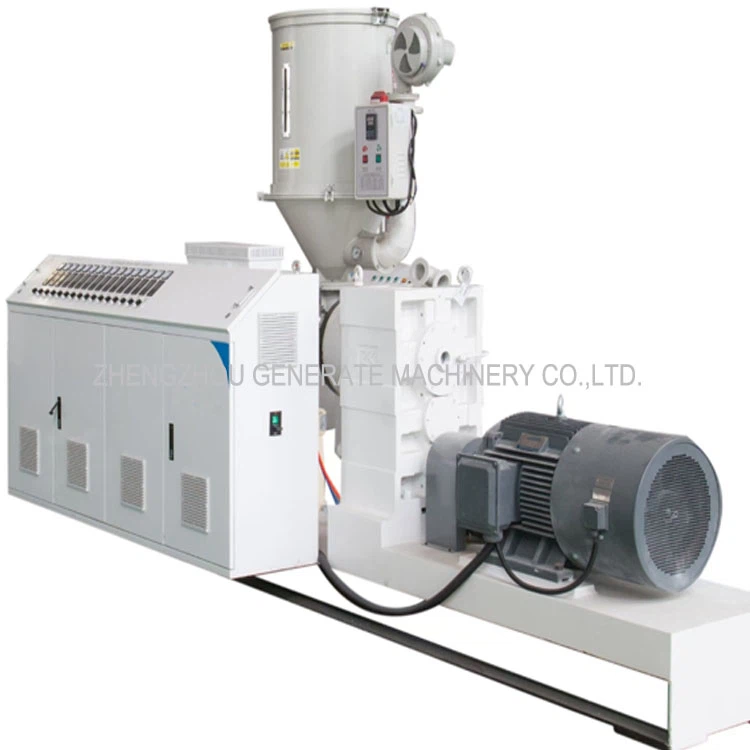
Before diving into the replacement process, it's important to understand the role of the barrel in a single screw extruder. The barrel is a critical component that houses the screw and provides the necessary environment for the melting, mixing, and conveying of the plastic material. It is typically made of high-quality steel or alloy and is designed to withstand high temperatures and pressures.

Over time, the barrel can wear out due to the constant friction and abrasion caused by the plastic material and the screw. This wear can lead to a decrease in the extruder's performance, including reduced output, poor product quality, and increased energy consumption. Replacing the barrel at the right time can help restore the extruder's efficiency and extend its service life.
Preparing for Barrel Replacement
Before you start replacing the barrel, it's essential to take the necessary precautions to ensure your safety and the safety of your equipment. Here are some steps to follow:
- Shut down the extruder: Turn off the power supply to the extruder and allow it to cool down completely. This will prevent any potential burns or injuries during the replacement process.
- Drain the plastic material: Remove any remaining plastic material from the extruder by purging it with a suitable purging compound. This will prevent the plastic from solidifying in the barrel and making it difficult to remove.
- Gather the necessary tools and equipment: You will need a variety of tools and equipment to replace the barrel, including wrenches, sockets, a crane or hoist, and a new barrel. Make sure you have all the necessary tools and equipment on hand before you start the replacement process.
- Inspect the new barrel: Before installing the new barrel, inspect it carefully for any signs of damage or defects. Make sure the barrel is the correct size and specification for your extruder.
Removing the Old Barrel
Once you have prepared for the barrel replacement, you can start removing the old barrel. Here are the steps to follow:
- Disconnect the barrel from the extruder: Use a wrench or socket to remove the bolts or nuts that connect the barrel to the extruder. Make sure you keep track of all the bolts and nuts and store them in a safe place.
- Remove the heater bands and thermocouples: Carefully remove the heater bands and thermocouples from the barrel. These components are usually held in place by clips or screws. Make sure you label the heater bands and thermocouples to ensure they are reinstalled correctly.
- Support the barrel: Use a crane or hoist to support the barrel and prevent it from falling. Make sure the crane or hoist is properly secured and rated for the weight of the barrel.
- Remove the barrel from the extruder: Slowly lift the barrel out of the extruder using the crane or hoist. Make sure you keep the barrel level and avoid any sudden movements.
- Clean the extruder: Once the barrel has been removed, clean the extruder thoroughly to remove any remaining plastic material or debris. This will help ensure a proper fit for the new barrel.
Installing the New Barrel
After you have removed the old barrel, you can start installing the new barrel. Here are the steps to follow:
- Inspect the extruder: Before installing the new barrel, inspect the extruder again to make sure it is clean and free of any damage or defects.
- Apply a thin layer of lubricant: Apply a thin layer of lubricant to the screw and the inside of the new barrel. This will help reduce friction and make it easier to install the barrel.
- Lower the new barrel into the extruder: Use the crane or hoist to lower the new barrel into the extruder. Make sure the barrel is properly aligned with the extruder and the screw.
- Connect the barrel to the extruder: Use a wrench or socket to tighten the bolts or nuts that connect the barrel to the extruder. Make sure you tighten the bolts or nuts evenly to prevent any leaks.
- Reinstall the heater bands and thermocouples: Carefully reinstall the heater bands and thermocouples on the new barrel. Make sure you connect them correctly and tighten the clips or screws securely.
- Test the extruder: Once the new barrel has been installed, test the extruder to make sure it is working properly. Start the extruder and gradually increase the temperature and speed to the recommended settings. Monitor the extruder's performance and make any necessary adjustments.
Tips for Successful Barrel Replacement
Here are some tips to help you replace the barrel in your single screw extruder successfully:
- Follow the manufacturer's instructions: Always follow the manufacturer's instructions when replacing the barrel. This will ensure that you are using the correct procedures and techniques and will help prevent any damage to your equipment.
- Use high-quality replacement parts: When replacing the barrel, make sure you use high-quality replacement parts that are designed for your specific extruder. This will ensure that the new barrel fits properly and performs as expected.
- Take your time: Replacing the barrel in a single screw extruder is a complex process that requires patience and attention to detail. Take your time and make sure you follow each step carefully to avoid any mistakes.
- Keep a record of the replacement: Keep a record of the barrel replacement, including the date, the type of barrel used, and any other relevant information. This will help you track the extruder's maintenance history and identify any potential issues in the future.
Conclusion
Replacing the barrel in a single screw extruder is an important maintenance task that can help ensure the optimal performance of your equipment. By following the steps outlined in this blog post and taking the necessary precautions, you can replace the barrel safely and effectively. If you have any questions or need further assistance, please don't hesitate to contact us. We are a leading supplier of Plastic Single Screw Extruder and Single Screw Extruder Machine and are committed to providing our customers with the highest quality products and services.
If you are interested in purchasing a single screw extruder or need to replace a barrel for your existing equipment, we invite you to contact us for more information. Our team of experts will be happy to assist you with your needs and help you find the right solution for your business.
References
- "Single Screw Extruder Handbook." John Wiley & Sons, Inc.
- "Plastics Extrusion Technology." Hanser Publishers.
- Manufacturer's manuals and technical documentation for single screw extruders.